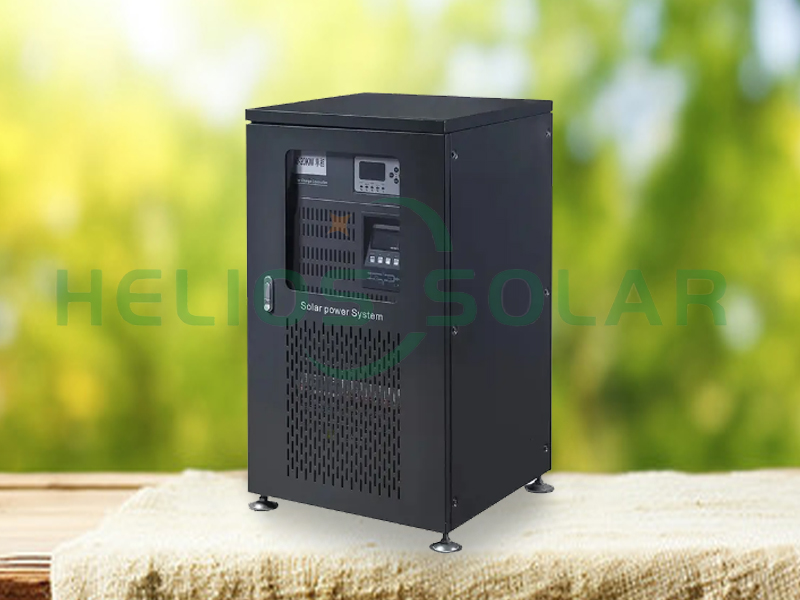
As the world shifts to renewable energy, solar energy has emerged as a major contender for sustainable energy solutions. The solar inverter is the heart of any solar power system, a key component that converts the direct current (DC) generated by solar panels into alternating current (AC) that can be used in homes and businesses. Correctly configuring your solar inverter is critical to maximizing efficiency and ensuring the longevity of your solar power system. In this article, we’ll look at how to configure a solar inverter effectively.
Understand the basics of solar inverters
Before we dive into the configuration process, it’s important to understand what a solar inverter does. There are three main types of solar inverters:
1. String Inverter: This is the most common type, connecting multiple solar panels in series. They are cost-effective, but may be less efficient if one of the panels is obscured or malfunctions.
2. Micro Inverters: These inverters are installed on each solar panel, allowing individual panel optimization. They are more expensive but can significantly increase energy production, especially in shaded areas.
3. Power Optimizers: These devices work with string inverters to optimize the performance of each panel while still using a central inverter.
Each type has its own configuration requirements, but the general principles remain the same.
Step-by-step guide to configuring a solar inverter
Step 1: Gather necessary tools and equipment
Before starting the configuration process, make sure you have the following tools and equipment:
- Solar inverter
- User manual (specific to your inverter model)
- Multimeter
- Screwdriver set
- Wire cutters/wire strippers
- Safety equipment (gloves, goggles)
Step 2: Safety First
Safety should always be your top priority when working with electrical systems. Disconnect the solar panels from the inverter to ensure that the solar panels are not generating electricity. Before proceeding, use a multimeter to verify that there is no voltage.
Step 3: Install Solar Inverter
1. Choose a location: Choose a suitable location for your inverter. It should be in a cool location, away from direct sunlight, and well ventilated to prevent overheating.
2. Install the Inverter: Use the mounting bracket that comes with the inverter to secure it to the wall. Make sure it is level and stable.
3. Connect DC input: Connect the solar panel wire to the DC input terminal of the inverter. Please follow the color coding (usually red for positive and black for negative) to avoid any mistakes.
Step 4: Configure Inverter Settings
1. Power on the inverter: After all connections are secure, power on the inverter. Most inverters have an LED display to show system status.
2. ACCESS CONFIGURATION MENU: Access the configuration menu using the buttons on the inverter or connected app (if available). See the user manual for specific instructions on navigating the menu.
3. Set Grid Type: If your inverter is grid-connected, you will need to configure it to match your local grid specifications. This includes setting the grid voltage and frequency. Most inverters come with preset options for different regions.
4. Adjust Output Settings: Depending on your energy needs, you may need to adjust the output settings. This can include setting the maximum output power and configuring any energy storage options (if you have a battery system).
5. Enable Monitoring Features: Many modern inverters have monitoring features that allow you to track energy production and consumption. Enabling these features allows you to keep a close eye on your system’s performance.
Step 5: Final inspection and testing
1. Double Check Connections: Before completing the configuration, please double check all connections to make sure they are secure and wired correctly.
2. Test the system: After configuring everything, perform a test to ensure the inverter is functioning properly. Monitor the output to verify that it meets expected performance.
3. Monitoring Performance: After installation, pay close attention to the performance of the inverter through the monitoring system. This will help you detect any problems early and ensure optimal energy production.
Step 6: Regular maintenance
Configuring a solar inverter is just the beginning. Regular maintenance is essential to ensure its longevity and efficiency. Here are some tips:
- Keep the inverter clean: Dust and debris can accumulate on the inverter, affecting its performance. Clean the exterior regularly with a soft cloth.
- Check firmware updates: Manufacturers often release firmware updates that improve performance and add new features. Check the manufacturer’s website regularly.
- Check connections: Check all electrical connections regularly for signs of wear or corrosion.
In conclusion
Configuring a solar inverter may seem daunting, but with the right tools and knowledge, it can be a simple process. By following the steps outlined in this guide, you can ensure that your solar inverter is set up correctly to maximize the efficiency of your solar power system. Remember, safety is paramount, so take the time to consult the user manual for your specific inverter model. With correct configuration and maintenance, your solar inverter will serve you well for years to come, contributing to a more sustainable future.
Post time: Sep-26-2024


